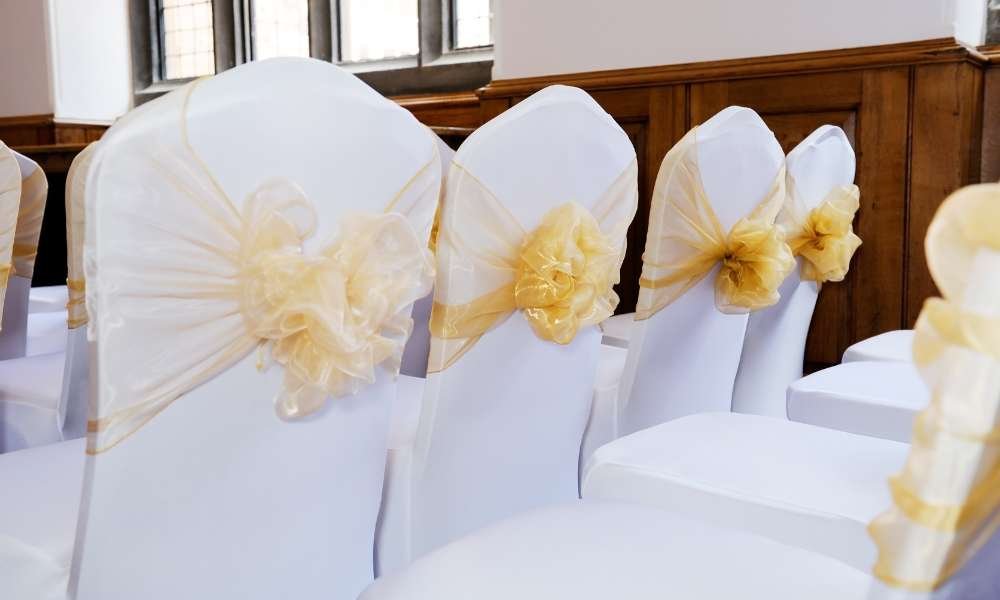
Reupholstering a dining chair is a fulfilling DIY venture, breathing fresh life into tired furniture while enabling personal creativity. Incorporating piping adds a touch of sophistication, elevating the final result to emulate high-end design. This detail accentuates the chair’s contours, transforming a plain set into a bespoke masterpiece. Beyond aesthetics, reupholstering is eco-friendly, extending furniture lifespan and curbing waste. It offers the chance to select fabrics suiting current décor or enduring household demands. This guide outlines the step-by-step process, including piping creation and integration, ensuring a professionally finished, durable outcome. Embrace the transformative journey, where old meets new, infused with your unique vision. Reupholstering a dining chair with piping involves removing old fabric, replacing padding, cutting new fabric and piping, and carefully attaching them for a tailored, refined appearance.Upgrade your dining chairs with professional flair: Learn how to reupholster with piping for a refined, custom look.
Necessary Materials and Tools
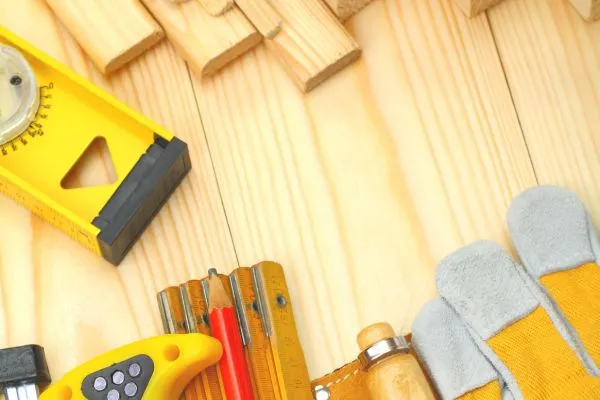
Revamping your dining chairs through reupholstery, especially with the addition of piping, elevates them from ordinary to extraordinary. To ensure success, gather quality materials like upholstery fabric, piping cord, foam or batting, and any desired embellishments. Equip yourself with a reliable staple gun, sharp scissors, and a sewing machine capable of handling upholstery. Consider practical aspects like durability and stain resistance alongside aesthetics when choosing fabric and piping. Opt for colors and patterns that complement your décor while ensuring longevity. Adding piping in a contrasting color or texture enhances sophistication, turning this project into more than just a renovation—it’s a true upgrade to your dining area.
Preparing the Chair for Reupholstering
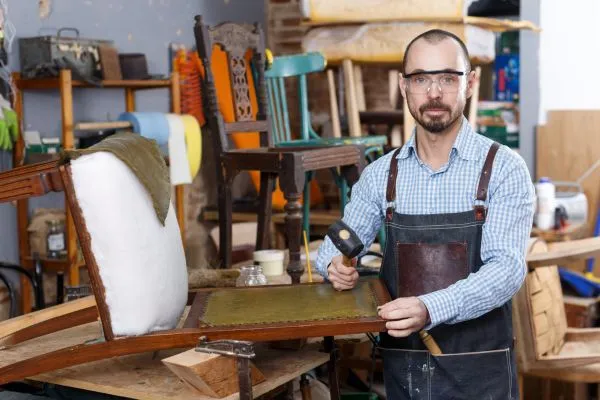
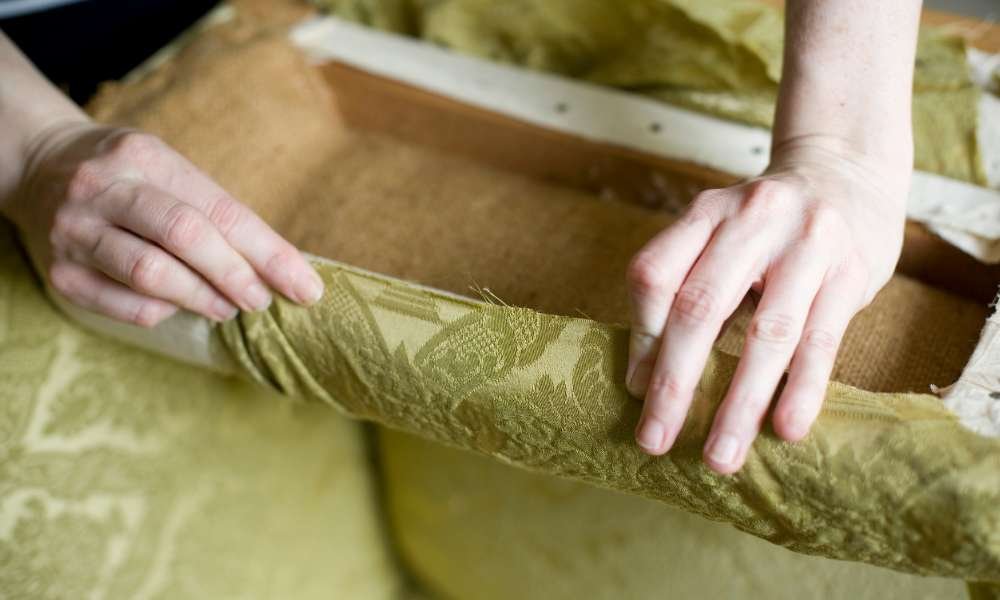
The preparation phase is crucial in the reupholstering process, ensuring a smooth transition to a beautifully finished dining chair with piping. Begin by detaching the seat from the frame, typically secured by screws. Employing a staple remover or a combination of a flathead screwdriver and pliers, methodically remove all staples to liberate the old fabric. Observing the original fabric’s placement and folds offers invaluable insights for reupholstering.
Lastly, inspect and prepare the chair frame. Address any loose joints and perform necessary repairs. Sanding, followed by painting or varnishing the frame, refreshes its appearance and ensures that the foundation of your chair is as refined as the new upholstery you’re about to create. This preparatory stage is pivotal, setting the stage for a successful reupholstering project that blends both beauty and longevity.
Measuring and Cutting the Fabric
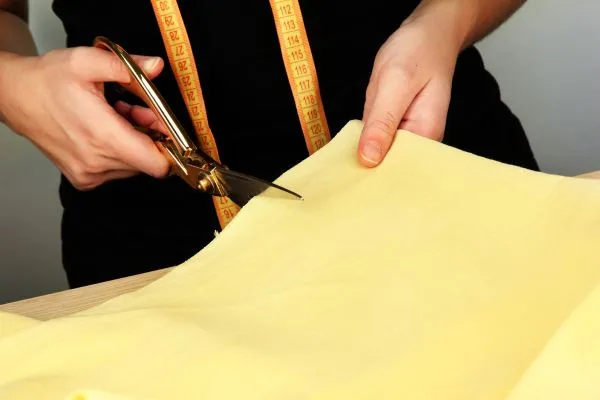
The foundation of a successful reupholstery project lies in accurate measurement and precise cutting of the fabric. Begin by measuring the chair seat, back, and any other areas requiring fabric, adding several inches to each dimension to allow for the depth of the seat and any necessary wraparound onto the chair’s underside. It’s crucial to include extra fabric for the piping and allowances for seams, ensuring there’s enough material to cover the contours of the chair and create a polished finish.
When cutting the fabric, use sharp fabric scissors for clean, precise edges, and always cut on a flat, stable surface. If your chair has curves or unique shapes, consider creating a paper template of each section to be upholstered, laying it on the fabric to guide your cutting. This method ensures accuracy and minimizes waste. For the piping, cut strips of fabric on the bias (diagonally to the weave) to enhance flexibility and ease of application around curves. Including these thoughtful preparations in your project plan guarantees a more professional result, with tight, seamless upholstery and beautifully defined piping that elevates the chair’s design.
Creating and Attaching the Piping
Crafting and affixing piping to a reupholstered dining chair elevates its elegance, providing a custom-made feel. To begin, sew the piping by encasing the cord with your fabric strips, cut on the bias for flexibility, using a sewing machine set with a zipper foot. This foot allows you to stitch closely to the piping cord, ensuring a snug fit.
Attaching the piping involves careful alignment along the fabric’s edge on the right side, with the raw edges matching. When navigating the chair’s corners and curves, make slight notches in the piping’s seam allowance (avoiding the cord) to facilitate a smooth transition around bends. Sew the piping to the fabric by tracing the initial stitching line closely.
For corners, patience is key; gently mold the piping around each curve for a flat, neat finish. Overlapping the piping ends creates a seamless join, concealing where it starts and ends. This attention to detail in piping execution enhances the chair’s aesthetic, showcasing meticulous craftsmanship.
Upholstering the Chair
Mastering the art of upholstering a dining chair ensures not only comfort but also adds a touch of sophistication to its aesthetic. Starting with the seat, positioning the fabric right side out and centering any patterns or designs is essential. Using a staple gun, secure the fabric to the seat, beginning from the center of one side and pulling it taut across to staple on the opposite side, ensuring a snug fit.
Maintaining even tension, work outward from the center when stretching and stapling the fabric, alternating sides to prevent wrinkles or looseness. Corner detailing is critical for a polished finish. Trim excess fabric, then neatly fold and secure it into pleats, ensuring a tight fit over the corner before stapling firmly.
This meticulous approach to upholstering, emphasizing tension, symmetry, and precise corner folding, elevates the dining chair’s appearance to that of a refined masterpiece. The addition of piping further accentuates its contours, enhancing its overall elegance.
Finishing Touches
The final stage of reupholstering a dining chair, especially with piping, focuses on perfecting details for a professional-grade outcome. After flawlessly upholstering the seat, the next step involves attaching the back fabric, with a focus on aligning or hiding seams for a sleek appearance. This requires a meticulous approach to ensure the fabric’s smooth application over the chair, with piping precisely placed to enhance its elegant contours. Adjustments might include stretching the fabric to remove any wrinkles or puckering, ensuring it’s securely affixed. The craftsmanship in fabric and piping application is crucial for the project’s success, underscoring the need for thoroughness. For added sophistication, decorative touches like buttons or tufting can be incorporated, elevating the chair’s look and adding dimension. These final embellishments mark the project’s completion, yielding a reupholstered dining chair that reflects exceptional skill and creative dedication.
Maintenance Tips
Maintaining your newly upholstered dining chair with piping is vital for preserving its beauty and longevity. Regular care ensures the fabric stays vibrant and the piping retains its definition. Start by vacuuming the chair with an upholstery attachment to remove dust and prevent it from settling. For spills, promptly blot with a clean, dry cloth—avoid rubbing to prevent stains from setting.
When deeper cleaning is needed, consult the fabric’s care instructions for the safest method, whether water-based or dry-cleaning solvent. Avoid harsh chemicals to prevent damage or fading. Rotating chairs exposed to sunlight prevents uneven fading. Apply a fabric protector spray for easier cleaning, testing it first in an inconspicuous spot. For piping, gently brush with a soft-bristled brush to keep it dust-free and maintain shape. These simple tips ensure your chair remains a cherished part of your home décor for years.
Troubleshooting Common Issues
Navigating common issues during a dining chair reupholstery project, especially when incorporating piping, can be crucial for achieving a polished look. Uneven piping often results from not sewing closely enough to the cord or uneven tension. To correct this, ensure you’re using a zipper foot on your sewing machine and maintain consistent pressure as you sew. Fabric puckering is typically a sign of tension problems, either from the sewing machine settings or how the fabric is being pulled as you sew. Adjusting the machine tension and practicing smooth, even fabric feeding can mitigate this issue.
Loose fabric on the finished chair can occur if the material wasn’t pulled taut enough during the stapling process. To fix, carefully remove the staples in the affected area, stretch the fabric tighter, and re-staple. Remember, the key to a tight fit is evenly distributing tension while securing the fabric, working from the center outwards and opposite sides in turn. These troubleshooting tips can help you navigate the complexities of reupholstery, ensuring a smooth, professional finish that lasts.
Conclusion
Embarking on a dining chair reupholstery project, especially with the addition of piping, is a rewarding journey that breathes new life into your furniture, blending aesthetics with personal touch. This endeavor not only rejuvenates a cherished piece but also enhances your home décor with a flair of bespoke craftsmanship. The process, from selecting the perfect fabric to the intricate task of attaching piping, demands precision and patience, yet the outcome is a testament to the transformative power of DIY.
The satisfaction derived from seeing a once-worn chair turn into a stylish, elegant seat cannot be overstated. Such projects underscore the beauty of personalization and the joy of creating something uniquely yours. Proper care and maintenance ensure this reimagined piece remains a focal point in your home for years, symbolizing a successful fusion of functionality and personalized style. This undertaking is a vivid reminder of how hands-on creativity can transform the mundane into the extraordinary, making every dining experience a moment to cherish.

